How to Remove Photos from Apple Watch: Easy-to-Follow Guide

Sometimes the convenience of having our favorite photos right on our wrist with the Apple Watch is nice. But other times, the need may arise to clear out some space, whether you’re trying to de-clutter, or for privacy reasons.
That’s where understanding how to remove photos from Apple Watch becomes important. Whether you’re a newbie to the world of Apple or a seasoned user looking for a quick refresher, I’m here to guide you through the process step-by-step
Understanding the Relation Between Your Apple Watch and iPhone
Before we jump into the process of removing photos, let’s discuss the synchrony between your Apple Watch and your iPhone.
Your watch doesn’t operate in a vacuum; it works closely with your phone, especially when it comes to photos.
The Apple Watch doesn’t house its photo storage. Instead, it mirrors albums on your phone.
By default, the “Favorites”, “Memories, and “Featured Photos” album are all mirrored from your paired iPhone, if the sync option is turned on.
How to Remove Photos from Apple Watch
Now that we have a basic understanding of how your devices interact, let’s move on to the actual steps of deleting photos.
Note that there is no way to remove individual pictures by selecting them and deleting them directly on your Apple Watch.
Since your Apple Watch syncs to various albums, the only way to remove a photo on your watch is to remove the picture from the album on your iPhone, or to turn off sync for the entire album that the photo is stored in.
Here’s how to do both of these, please pick whichever best fits your goal:
Remove a Picture from iPhone Album
Whichever select photos you remove from your iPhone album, will also be deleted from your Apple Watch. This method will not remove all the photos in that album from your watch, just the one(s) you select.
In order to not permanently lose the photos you are removing from your iPhone album, make sure to back them up by placing them into another album. Unless you don’t mind if they are permanently deleted from your iPhone.
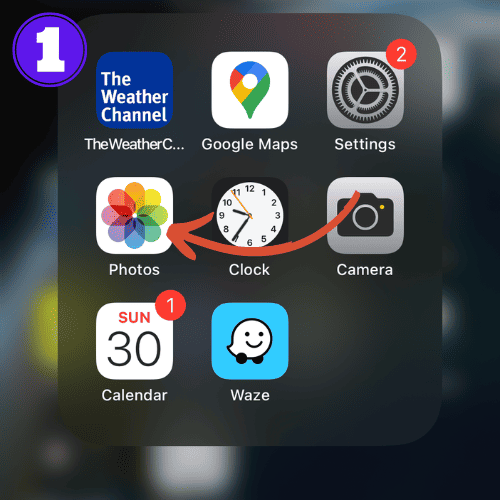
- Open the “Photos” app on your iPhone.
- Find the album in which the photo(s) you’re trying to remove from your Apple Watch are located. By default it is ‘Favorites’.
- Select the photo(s) that you want to delete.
- Press the “Trash” icon on the bottom right.
- A confirmation screen will pop up, select “Delete Photo“.
Turn Off Album Sync
This method will remove all the photos from your Apple Watch that are in the selected iPhone photo album because you are removing the sync for the entire album.
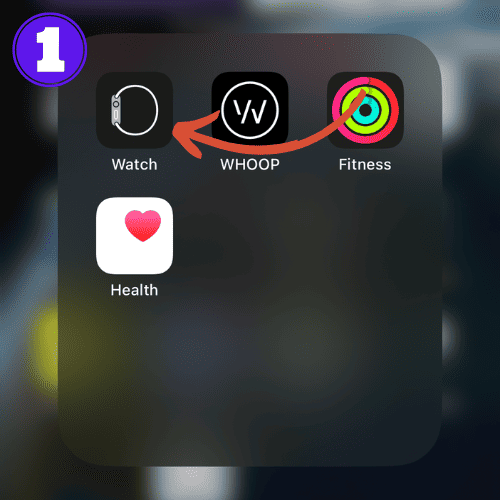
- Open the “Watch App”.
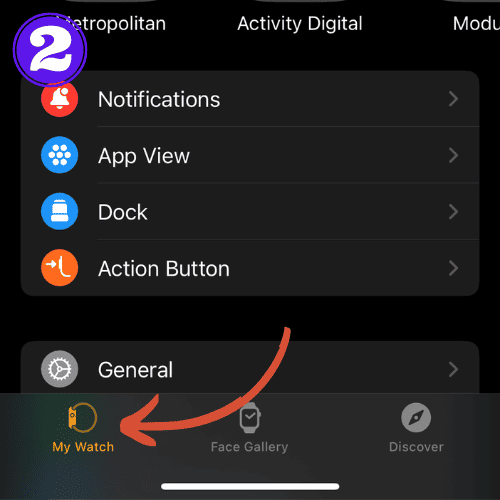
- Select “My Watch” on the bottom left.
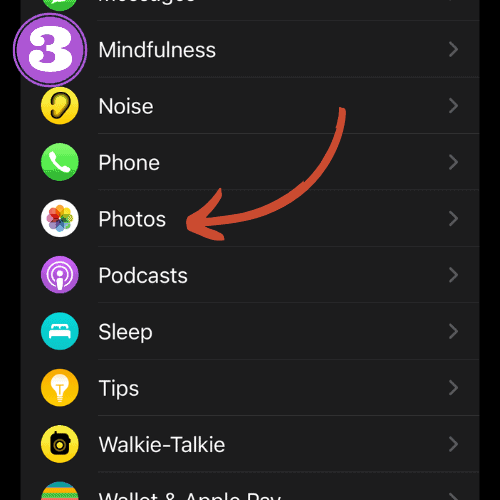
- Scroll down and select “Photos“.
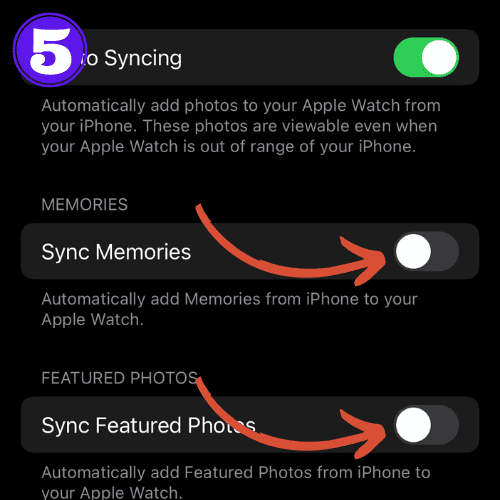
- Locate the albums that you want to remove the sync from. By default, “Favorites” will be synced. BUT, “Memories“, and “Featured” albums may also be synced, so keep an eye out.
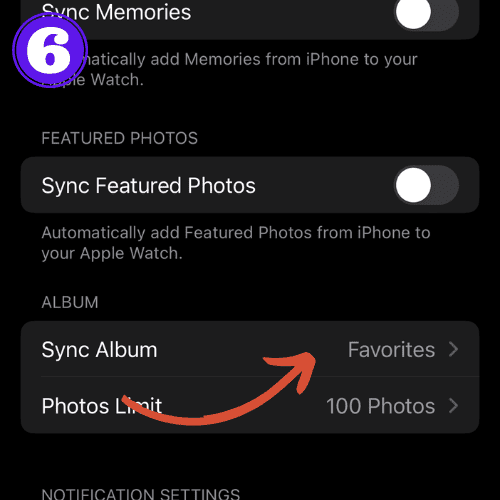
- Turn the toggle off for the albums that contain the images you no longer want on your Apple Watch. Note that under “Album“, “Sync Album” does not have a toggle and it is preset to “Favorites“.
- To remove the sync from Favorites, simply select “Sync Album“.
- Then tap “None“.
How to Remove All Photos From Apple Watch
If you’ve decided to go for a total cleanup, there’s a simple way to remove all photos from your Apple Watch.
All you have to do is disable the photo sync between your watch and iPhone.
Here’s how:
- Open the “Watch App”.
- Select “My Watch” on the bottom left.
- Scroll down and select “Photos“.
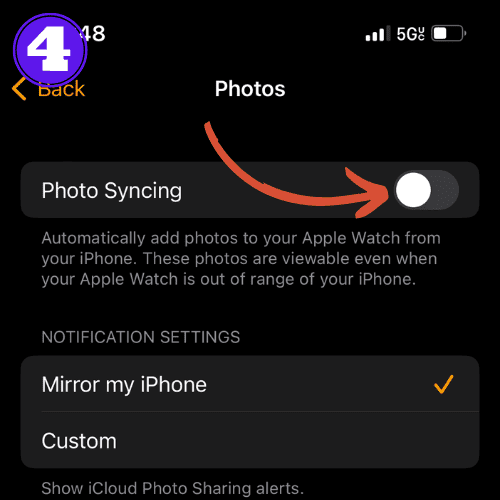
- Toggle off “Photo Syncing“.
Once you do this, all photos will disapear from your watch, giving you a clean slate to work with!
This should happen almost instantly. If it doesn’t, wait a few minutes and try again, or restart your Apple Watch.
How to Delete Photos From Apple Watch Without iPhone
Due to the Apple Watch relying on your paired iPhone for photo management, you will need to have access to your paired iPhone in order to delete photos from your watch.
The only way around this is to do a factory reset of your Apple Watch. This will do exactly that, erase all content and settings, including your synced photos. But, keep in mind, your Apple Watch will essentially be a new watch at this point.
If you want to go ahead with this, follow these instructions:
- Open the “Settings” on your Apple Watch.
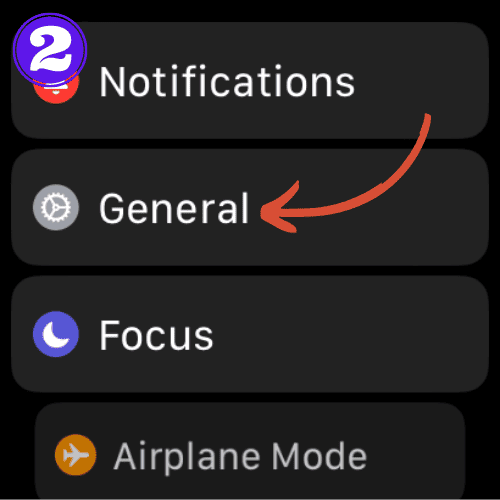
- Scroll down and select “General“.
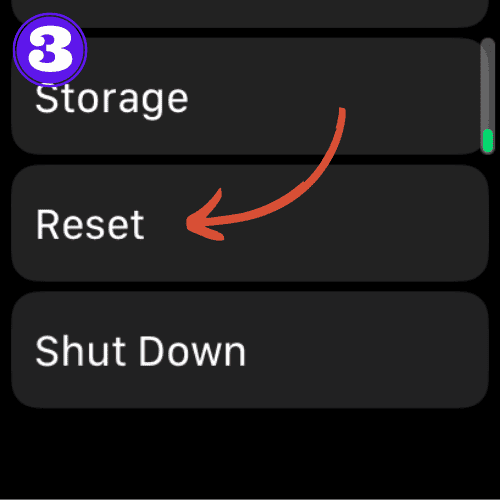
- Scroll to the bottom and select “Reset“.
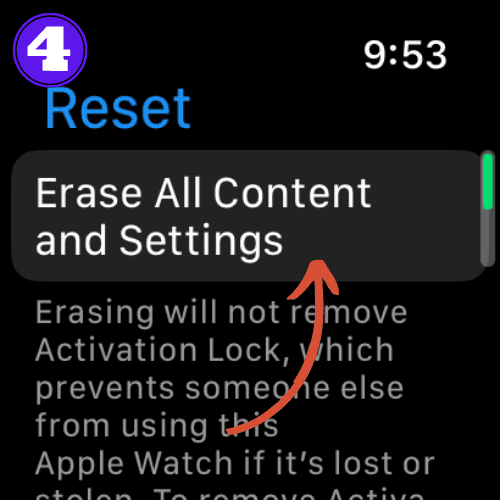
- Choose “Erase All Content and Settings“.
- It will prompt you to put in your Apple Watch pass-code. Do that, then confirm.
Related Articles:
How to Install Apps on Apple Watch (Updated for watchOS 10)
Are you looking to explore new functionalities or bring back previously deleted apps? This article provides a step-by-step walk-through for how to install apps on Apple Watch that are running watchOS 10 or newer, as well as how to troubleshoot some common...
Apple Watch Ultra Comparison: Analyzing Step Consistency, Calories, Battery Health, and Performance Metrics
I wore the Apple Watch Ultra 1 and Ultra 2 from a full charge until they both died. Throughout this Apple Watch Ultra comparison, I gathered an analyzed various data-points such as step count, calories burned, and battery life. This hands-on information is could be...
I Put the Apple Watch Ultra 2 Battery to the Test in Multiple Scenarios. Here’s what I found
Key Ultra 2 Battery Insights: Max Battery Life Potential: By turning off 'Always On Display', 'Raise to Wake', and forgoing sleep usage, you can achieve a 20% longer battery life, reaching up to 84 hours. Features Impact: Using the watch for sleep, having the 'Always...

by Ken
Ken is a Data Analyst in the Healthcare industry and the owner and sole contributor to The Wearable Guy.

